You’ll find Citristrip gel surprisingly gentle for furniture restoration—it actually smells like oranges instead of burning your nostrils off. Apply a thick coat, wait 30 minutes to 24 hours depending on the layers, then scrape with a plastic putty knife. I think the best part is working indoors without evacuating your family. You’ll need nitrile gloves and safety glasses, perhaps some plastic wrap to keep sections moist. There’s definitely more to mastering the technique though.
Some of the links in this article may be affiliate links. If you make a purchase through these links, we may earn a small commission at no extra cost to you. Thank you.
What Makes Citristrip the Ideal Choice for Furniture Restoration
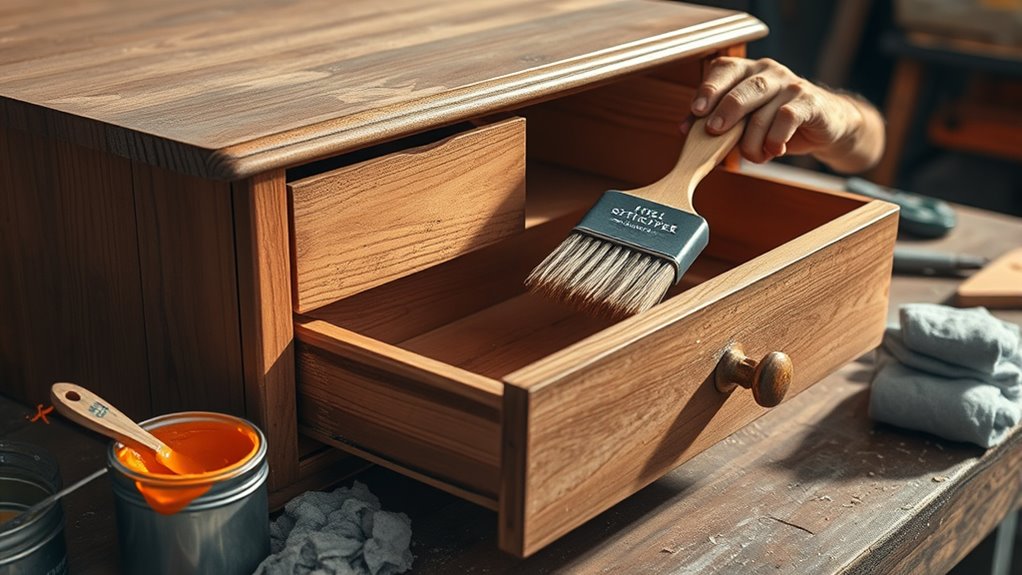
When you’re staring at that tired old dresser or weathered dining table, wondering if it’s worth saving, Citristrip might just be the game-changer you didn’t know you needed.
Unlike those harsh chemical strippers that’ll knock you over with fumes, this orange gel actually smells like citrus—pleasant, perhaps even enjoyable.
What really sets it apart is the safety factor. No methylene chloride means you can work indoors without feeling like you need a hazmat suit.
It’s patient too, working anywhere from 30 minutes to 24 hours without damaging your furniture underneath.
Essential Safety Gear and Workspace Preparation
Before you crack open that container of Citristrip, there are three pieces of safety gear you absolutely can’t skip—though honestly, the prep work matters just as much as the protective equipment itself.
- Chemical-resistant nitrile gloves – Regular latex won’t cut it here, trust me.
- Safety glasses – Even gentle strippers can splash unexpectedly
Step-by-Step Application Process for Maximum Results
Once you’ve got your safety gear on and workspace prepped, grab an old paintbrush or chip brush—honestly, don’t use anything you’re attached to because Citristrip will pretty much ruin it.
Apply a thick, generous coat to all surfaces. I mean really slather it on there—don’t be shy about it. The gel needs to stay wet to work effectively, so perhaps consider covering with plastic wrap.
| Step | Time | Action | Notes |
|---|---|---|---|
| 1 | 0 min | Apply thick coat | Cover all surfaces completely |
| 2 | 30 min | Check progress | Test small area first |
| 3 | 2-24 hrs | Wait patiently | Keep gel wet throughout |
| 4 | Final | Scrape gently | Use plastic putty knife |
Effective Stripping and Cleaning Techniques
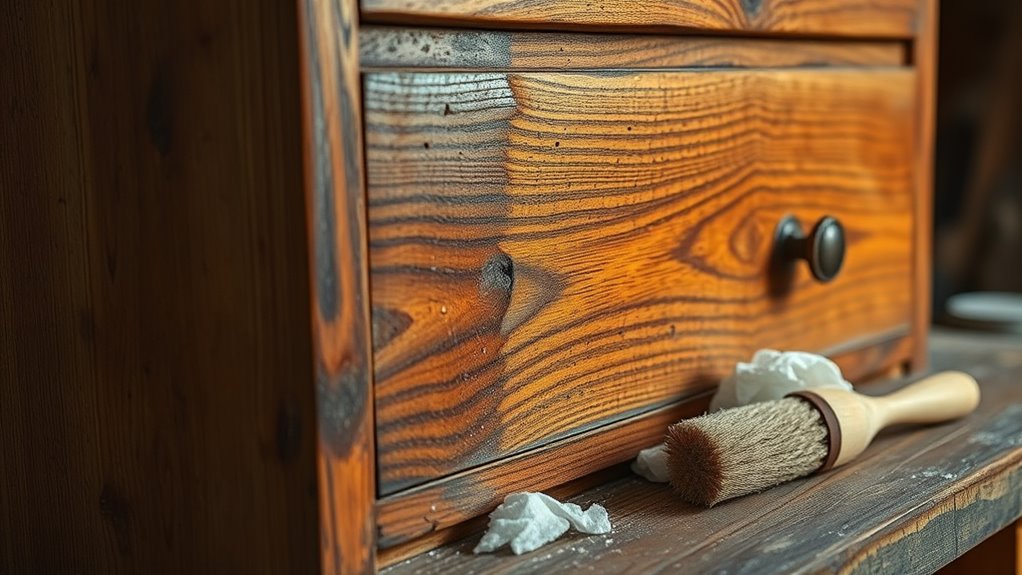
The magic really starts happening after you’ve let Citristrip do its thing for at least 30 minutes—though I’ve found that patience pays off here, and sometimes waiting a few hours gives you much better results.
Here’s how to tackle the actual stripping:
- Test a small corner first – gently scrape with your plastic putty knife to see if the paint lifts easily.
- Work in manageable sections – scrape off the loosened paint, moving systematically across the surface.
- Clean thoroughly with mineral spirits – use fine steel wool soaked in mineral spirits to remove any stubborn residue.
The cleaning phase is perhaps just as important as the stripping itself.
Optimizing Performance With Temperature and Timing
While Citristrip is pretty forgiving compared to harsher chemical strippers, getting the temperature and timing right can make the difference between an easy, satisfying project and one that leaves you frustrated.
Temperature really matters here. You’ll get the best results when it’s around 80 to 100 degrees Fahrenheit. I think cooler weather slows everything down considerably, while excessive heat can dry out the gel too quickly.
Timing’s perhaps even more critical. Give it at least 30 minutes, though sometimes you’ll need up to 24 hours for stubborn layers.
Keep checking periodically—you don’t want it drying out completely.
Post-Stripping Care and Environmental Disposal Guidelines
After you’ve successfully stripped away those old layers, proper cleanup becomes just as important as the stripping process itself.
Proper cleanup after paint stripping is equally crucial as the stripping process for achieving professional results.
You’ll need to neutralize the wood with a water buffer to remove any remaining chemical residue – I think this step gets overlooked sometimes, but it’s essential for your finish to adhere properly.
For disposal, follow these important steps:
- Collect all scraped paint chips on your drop cloth for proper hazardous waste disposal
- Clean tools immediately with mineral spirits before the gel hardens completely
- Dispose of Citristrip at designated local facilities according to your area’s regulations
Perhaps the most satisfying part is seeing your furniture’s natural beauty emerge.
Frequently Asked Questions
Can Citristrip Remove Multiple Layers of Paint in One Application?
You can remove multiple paint layers with Citristrip in one application if they’re thin. Thick, stubborn layers might need a second treatment. The gel’s effectiveness depends on paint type, age, and how liberally you’ve applied it.
Is Citristrip Effective on Antique Furniture With Unknown Paint Types?
You’ll find Citristrip effective on antique furniture regardless of unknown paint types. It removes latex, oil-based paint, varnish, lacquer, polyurethane, and shellac from wood and metal surfaces safely without harsh chemicals.
How Long Does Citristrip Remain Active Before Needing Reapplication?
Like a persistent guardian, Citristrip stays active for 30 minutes to 24 hours on your furniture. You’ll maintain its effectiveness by keeping it wet—cover with plastic wrap to prevent drying and extend its paint-removing power.
Can I Use Citristrip on Painted Fabric or Upholstered Furniture Parts?
You shouldn’t use Citristrip on painted fabric or upholstered furniture parts. It’s designed for hard surfaces like wood and metal. The gel can damage fabric fibers and won’t effectively remove paint from textiles.
Does Citristrip Work Equally Well on Both Horizontal and Vertical Surfaces?
Citristrip performs astronomically better on horizontal surfaces since gravity keeps it in place longer. You’ll need thicker coats on vertical surfaces and should cover them with plastic wrap to prevent dripping and maintain contact time.