Yes, you can apply polyurethane over varnish, but compatibility isn’t guaranteed. One-component varnishes typically work fine with polyurethane, while two-component polyurethanes over one-component varnishes spell disaster. We always sand with 220-grit, clean thoroughly, and test in a hidden spot first—skipping this step leads to peeling nightmares. Wipe-on application gives better control than brushing. The devil’s in the prep work, and there’s more to getting it right.
Some of the links in this article may be affiliate links. If you make a purchase through these links, we may earn a small commission at no extra cost to you. Thank you.
Understanding Varnish and Polyurethane Compatibility
Before you slap polyurethane over that existing varnish, we need to address the elephant in the room: not all varnishes play nice with poly.
Here’s the brutal truth: varnish types vary wildly in their chemical makeup, and some will bond beautifully while others will fail spectacularly.
One-component varnishes? Generally fine for polyurethane finishes.
Two-component polyurethanes over one-component varnishes? Absolutely not. Don’t even think about it.
The compatibility game isn’t just about chemistry—it’s about avoiding color shifts and adhesion nightmares.
We’re talking potential peeling, bubbling, and finish failure that’ll haunt your project forever.
Bottom line: test compatibility in an inconspicuous spot first. Better to waste fifteen minutes testing than ruin your entire piece.
Essential Surface Preparation Steps
Once you’ve confirmed compatibility, proper surface prep becomes the make-or-break factor in your polyurethane application.
Skip this step, and you’re basically throwing money at failure.
Start with thorough surface cleaning. Strip away every trace of grease, dust, and grime. We’re talking spotless here—no exceptions.
Next comes sanding techniques that actually matter. Hit that varnish with 220-grit sandpaper to create the texture polyurethane desperately needs for adhesion.
But here’s the kicker: don’t sand through edges and corners. Expose raw wood, and you’ll get blotchy, uneven coverage that screams amateur hour.
Finish with a tack cloth sweep. Remove every speck of sanding dust. Your surface should be pristine—ready for polyurethane that’ll actually stick around.
Application Techniques and Best Practices
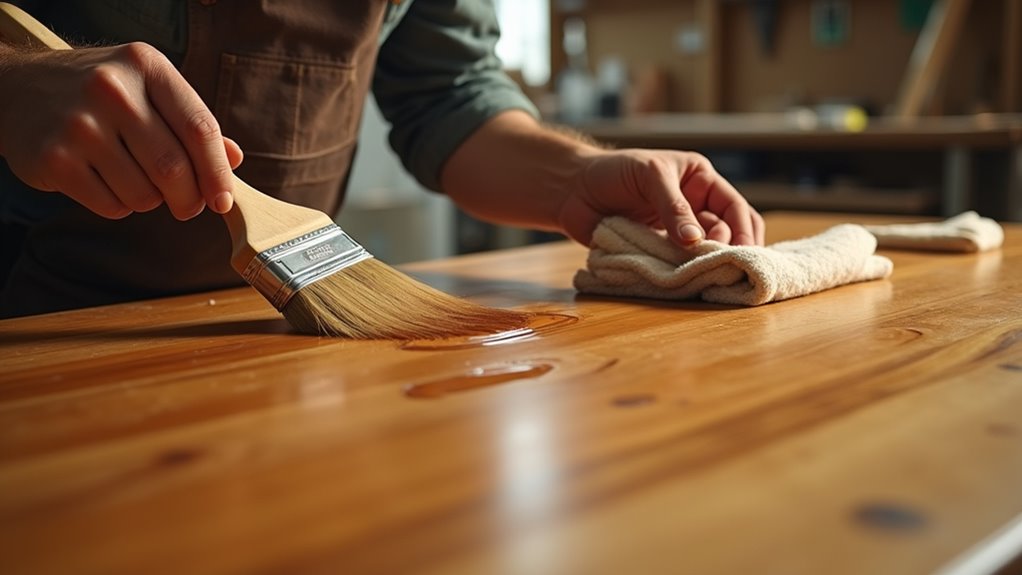
Your prep work’s done—now we’re talking application strategy. Wipe-on polyurethane beats brushing every time. Why? Smoother finish, fewer brush marks, better control. Period.
Apply thin, even coats using lint-free cloths. Think marathon, not sprint—patience determines finish durability here. Weather matters: humidity kills drying times, so plan accordingly. We can knock out multiple coats in one day if conditions cooperate, but don’t rush between applications.
Here’s the kicker: test compatibility first. Find an inconspicuous spot and apply a small section. Some varnish-polyurethane combinations hate each other, and problems won’t show immediately. Better to discover incompatibility on a hidden edge than your tabletop’s center.
Among application methods, wiping wins for consistency. Your finish durability depends on proper technique execution—no shortcuts allowed.
Common Risks and How to Avoid Them
Although we’ve covered proper technique, let’s face reality: this job can go sideways fast.
Adhesion issues top our worry list—skip the 220-grit sanding, and you’ll watch your finish peel like cheap wallpaper. Color changes strike next. That crystal-clear poly can turn cloudy or shift your wood’s hue completely. We’re talking permanent damage here.
Here’s your survival strategy: Test first, always. Pick an inconspicuous spot and apply your poly. Wait 48 hours. If it looks wrong, you’ve dodged disaster.
Don’t rush the cure time either—6 to 12 weeks isn’t negotiable. Impatience kills finishes.
Scuff sand religiously. Clean thoroughly. Apply thin coats. These aren’t suggestions; they’re commandments for avoiding catastrophic failure.
Testing and Troubleshooting Your Finish

Smart finishers treat testing like insurance—boring but lifesaving. When testing adhesion between varnish and polyurethane, we’re preventing disasters that won’t show up for years.
Skip this step, and you’ll watch your finish peel like sunburned skin.
Essential Testing Protocol:
- Sand an inconspicuous area with 220-grit paper and apply your poly test patch
- Wait 48 hours, then attempt to scratch or peel the test area with a fingernail
- Check for color changes, cloudiness, or adhesion failure before proceeding
- Document what works—memory fails, notes don’t
Troubleshooting finishes starts with patience. If adhesion fails, strip everything and start over.
Half-measures create full disasters. When compatibility issues arise, manufacturer recommendations trump internet advice every time.
Frequently Asked Questions
What Finish Can Go Over Varnish?
We can apply several finishes over varnish, including polyurethane, lacquer, and shellac. However, finish compatibility depends on varnish types and proper preparation. We’d recommend testing compatibility first to guarantee proper adhesion.
What Ruins Polyurethane Finish?
Poor surface prep, contamination from wax or oils, and incompatible finishes ruin polyurethane. We’ll see adhesion failure, peeling, and cloudiness when polyurethane application ignores varnish compatibility issues or environmental factors.
Can I Spray Polyurethane Over Lacquer?
Like mixing oil and water, spray application over lacquer requires careful consideration. We can achieve lacquer compatibility through proper sanding and dewaxed shellac barriers, though manufacturers typically discourage this combination due to potential adhesion failures.
Can I Put New Varnish Over Old Varnish?
Yes, we can apply new varnish over old varnish after proper surface preparation. We’ll need compatible varnish types and light sanding for adhesion. Complete varnish removal isn’t necessary if compatibility’s confirmed.