Absolutely—we can use gel stain on laminate furniture, and it’s actually your best bet since gel stain sits on the surface rather than soaking in like traditional stains. You’ll need to clean aggressively with detergent, then sand with 150-grit paper to create tooth for adhesion. Apply with foam brushes, allow 72 hours between coats, and seal with polycrylic for durability. Stick around to master the techniques that prevent common failures.
Some of the links in this article may be affiliate links. If you make a purchase through these links, we may earn a small commission at no extra cost to you. Thank you.
Understanding Gel Stain Properties and Benefits for Laminate
While traditional stains penetrate deep into wood fibers, gel stain takes a completely different approach—it sits right on the surface like a thick, controllable coating.
This surface-sitting property makes it perfect for laminate furniture that can’t absorb traditional stains.
The gel stain advantages for laminate are game-changing. You won’t need to strip existing finishes—a massive time-saver.
The thick consistency gives you precise control over color depth and application patterns. Want deeper color? Layer it. Prefer subtle enhancement? Wipe it on lightly.
Laminate finish options expand dramatically with gel stain. You can create convincing wood grain effects or achieve sophisticated two-tone finishes.
The key is proper surface prep: light sanding and thorough cleaning guarantee ideal adhesion.
Essential Surface Preparation Techniques for Laminate Furniture
Surface prep separates amateur results from professional-looking transformations—and laminate demands respect here.
We’ll walk you through the bulletproof process that guarantees your gel stain actually sticks.
Start with aggressive surface cleaning: strong detergent and water, followed by a 50:50 denatured alcohol-water mix. This removes every trace of manufacturing residues and household grime that’ll sabotage adhesion.
Next, sanding techniques matter enormously. Use 150-grit sandpaper minimum—220-grit works beautifully too. You’re creating microscopic valleys for gel stain to grip. Sand lightly but thoroughly.
Dust removal is non-negotiable. Every particle left behind creates application problems.
Run an adhesion test on a hidden spot first.
Skip de-glossers entirely—they’re marketing nonsense that can’t replace proper prep work.
Required Tools and Materials for Gel Staining Projects
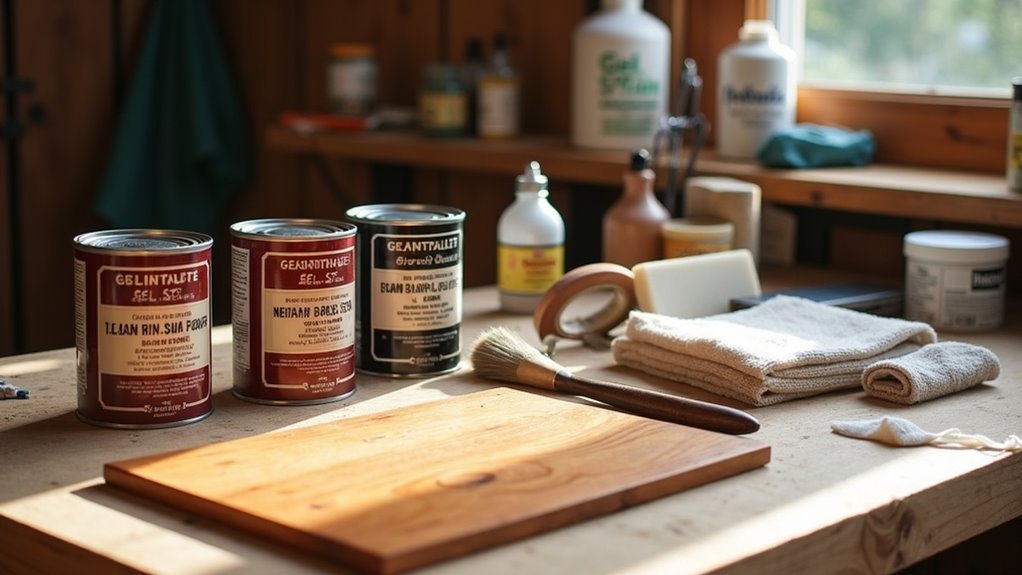
Success hinges on having the right arsenal before you crack open that gel stain container. We’re talking essential tools that’ll make or break your project across different surface types.
Start with 150 or 220-grit sandpaper for proper surface prep. Don’t skimp here—laminate won’t accept stain without adequate scuffing.
Grab foam brushes for controlled application and clean rags for wipe-on staining techniques that guarantee even coverage.
Krud Kutter cleans laminate surfaces thoroughly, removing manufacturing residue that kills adhesion.
Consider BIN 123 Primer if you’re planning future paint application—it’s insurance against peeling.
Protect your investment with Minwax Water Based Polycrylic or Arm-R-Seal topcoat. These maintain gel stain integrity long-term.
Finally, wear gloves. Gel stain removal from skin requires industrial-strength scrubbing you’ll regret.
Step-by-Step Application Methods and Best Practices
Once you’ve assembled your tools, execution becomes everything—and laminate demands respect for proper sequence.
Start with aggressive cleaning: strong detergent plus Scotch-Brite pad, followed by 50:50 denatured alcohol-water wipe. No shortcuts here.
Light sanding with 150-grit creates essential tooth for gel stain application. Dust removal is non-negotiable—even microscopic particles sabotage adhesion.
Apply gel stain with foam brush, following grain direction. Thin coats prevent disaster; thick application guarantees streaking. Wipe-on method delivers superior coverage for laminate furniture transformation.
First coat needs full 72 hours to cure—patience pays dividends. Second coat deepens color dramatically.
Finish with three coats of Minwax Water Based Polycrylic. Each coat requires complete drying. Rush this stage, ruin everything.
Your laminate just became furniture worth owning.
Protective Finishing and Sealing for Long-Lasting Results

While your gel stain transformation looks impressive, it’s defenseless without proper sealing—and laminate demands triple the protection of solid wood.
We’re applying three topcoats, period. No shortcuts.
Choose your sealing options wisely: Arm-R-Seal for dark finishes, High Performance for light ones.
Wait for complete dryness—any tackiness means you’re rushing. Triple normal drying time between coats isn’t negotiable.
Our finishing techniques require patience. Allow 30 days minimum for proper curing.
Yes, 30 days. Your laminate needs this time to develop bulletproof durability.
High-use areas demand immediate spill cleanup.
That coffee ring you ignored? It’ll haunt your finish forever.
We’re protecting an investment here, not decorating a disposable piece.
Troubleshooting Common Issues and Adhesion Testing
Why do most laminate staining projects fail spectacularly? They skip adhesion testing. We’re dealing with a notoriously slick surface that laughs at poor preparation.
Before committing to your entire piece, conduct proper testing methods on a hidden area. Sand with 150-220 grit sandpaper, apply your gel stain, then wait 7-10 days for full cure assessment. This reveals potential adhesion issues before disaster strikes.
Common problems demand swift solutions:
- Tacky finish: You rushed it—wait longer for proper drying
- Uneven coverage: Switch to foam brush or wipe-on technique
- Poor adhesion: Increase surface preparation intensity
- Streaky application: Use mineral spirits slip-coat for extended working time
Testing saves projects. Skip it, and you’ll be stripping everything later.
Frequently Asked Questions
Can You Stain Laminate Furniture to Look Like Wood?
Yes, we can transform laminate furniture to mimic wood using proper staining techniques. Gel stain works best on laminate finishes since it adheres to surfaces rather than absorbing, creating authentic wood-like appearances.
What Are the Disadvantages of Gel Stain?
We’ve found gel stain drawbacks include poor penetration on laminate surfaces, challenging application requiring extensive prep work, potential tackiness between coats, and highlighted laminate furniture issues like existing scratches.
How Can You Tell if Furniture Is Laminate or Veneer?
Like detectives examining evidence, we’ll check the edges and scratch-test surfaces to identify laminate characteristics versus veneer differences—laminate feels smooth with hidden seams while veneer shows natural wood grain.
Can You Put a Stain on Laminate?
Yes, we can put gel stain on laminate with proper laminate surface preparation. We’ll need to clean and lightly sand first, then use proper gel stain application techniques for best results.