I’ve found that finishing tongue and groove pine isn’t optional—it’s essential for preventing warping and moisture damage. For aesthetics, I recommend General Finishes Water Based Wood Stain or Minwax Color Wash for that weathered look. Protective options like Watco Danish Oil provide dual staining and sealing, while Rust-Oleum Zinsser Shellac offers quick, non-toxic coverage. Perhaps most importantly, Varathane’s quick-drying polyurethane lets you recoat in just two hours, and there are specific techniques that’ll maximize your results.
Some of the links in this article may be affiliate links. If you make a purchase through these links, we may earn a small commission at no extra cost to you. Thank you.
Why Finishing Your Tongue and Groove Pine Is Critical
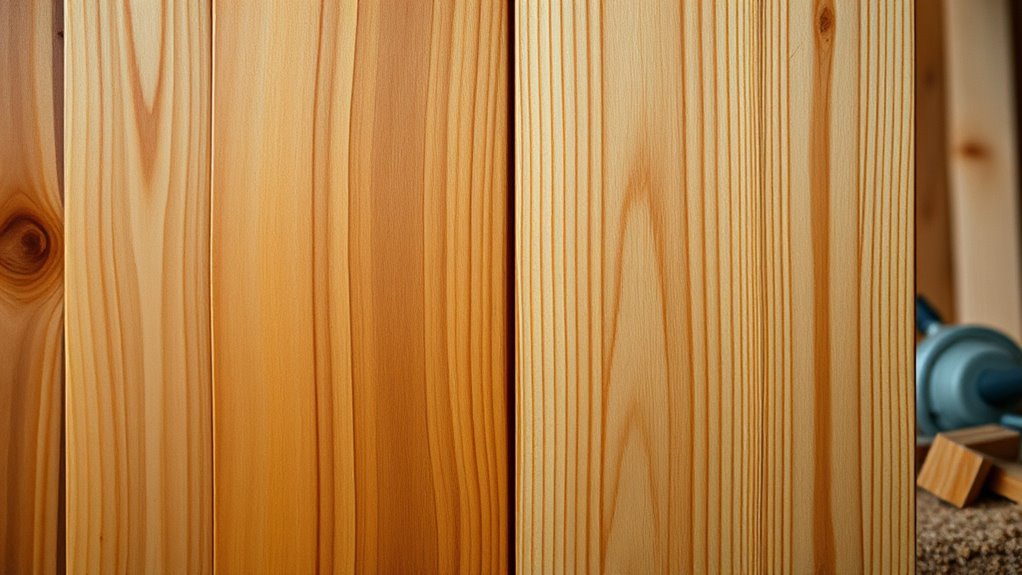
Protection—that’s really what we’re talking about when it comes to finishing tongue and groove pine, though I think many people don’t realize just how vulnerable unfinished pine actually is.
I’ve seen too many beautiful installations turn into maintenance nightmares because someone skipped this step.
Without proper finishing, your pine ceiling becomes a magnet for dirt and grime. The wood actually absorbs these particles, making cleaning nearly impossible.
Perhaps more concerning is how unfinished pine reacts to moisture changes—warping, cracking, even developing gaps that weren’t there before.
A quality finish prevents all this while keeping that natural wood elegance intact.
Top Aesthetic Finishes for Enhanced Visual Appeal
How dramatically can the right finish transform your tongue and groove pine from ordinary lumber into something that genuinely elevates a room? I think the difference is honestly striking.
General Finishes Water Based Wood Stain consistently delivers what I’d call exceptional aesthetic results. The rich, dark pigments enhance wood’s natural warmth without that harsh chemical smell.
Water-based stains deliver rich pigmentation that enhances pine’s natural character while eliminating those unpleasant chemical odors completely.
You can mix colors too, which perhaps gives you more control than most realize.
For something different, Minwax Color Wash creates an aged, weathered appearance that’s quite popular now. One coat usually does it, though I’ve seen people apply multiple layers for deeper effects.
Best Protective Coatings for Long-Term Durability
While aesthetics matter, I’ve learned that choosing a protective coating really determines whether your tongue and groove pine will look good in ten years or need replacing.
| Product | Key Benefit |
|---|---|
| Sunnyside Boiled Linseed Oil | Creates tough, elastic film that enhances grain |
| Watco Danish Oil | Combines oil and varnish for dual protection |
| Rust-Oleum Zinsser Shellac | Non-toxic with just two coats needed |
I think the Danish oil stands out because it both stains and seals. Perhaps it’s not the cheapest option, but you’re getting two steps in one. The shellac requires only two coats, which honestly surprised me at first.
Quick-Drying Options for Efficient Project Completion

Protection matters, but let’s be honest—sometimes you need a finish that won’t keep your project tied up for days.
I think Varathane Water-Based Ultimate Polyurethane hits that sweet spot perfectly. It dries to touch in just 30 minutes, and you can recoat after two hours—that’s impressive timing.
Minwax Polycrylic is another solid choice, perhaps even quicker in some conditions.
Both products clean up with soap and water, which I appreciate more than I probably should. The low odor factor means you won’t need to evacuate your house either.
Sometimes efficiency matters as much as protection.
Budget-Friendly Solutions and Touch-Up Products
Let’s face it—not every project needs the most expensive finish, and frankly, I’ve been impressed with what you can accomplish on a tighter budget.
Minwax Water-Based Wipe-On Polyurethane has become my go-to for smaller areas and touch-ups. It’s quick-drying, low odor, and honestly perfect for those inevitable spots you missed during the main application.
Quick-drying and low odor, this wipe-on poly is my reliable choice for small areas and those inevitable touch-up spots.
I think what surprises people is how well these budget options actually perform.
Sure, perhaps they won’t have every bell and whistle of premium finishes, but for basic protection and aesthetics? They get the job done without breaking the bank.
Application Techniques and Essential Considerations
After working with tongue and groove pine for several years, I’ve learned that proper application technique can make or break your finish—regardless of whether you’re using a premium product or something more budget-friendly.
Here’s what I think matters most:
- Surface preparation is everything – Sand lightly and remove all dust before applying any finish.
- Thin coats beat thick ones – Multiple light applications always look better than one heavy coat.
- Quality brushes make a difference – Invest in good brushes for self-leveling finishes.
Perhaps the most important lesson I’ve learned is patience. Rushing between coats usually creates more work later.
Frequently Asked Questions
Can I Apply Finish to Tongue and Groove Pine in Cold Weather Conditions?
I can’t recommend applying finish to tongue and groove pine in cold weather. Low temperatures prevent proper curing, cause application problems, and create poor adhesion that’ll compromise your finish’s durability and appearance.
How Often Should I Reapply Finish to Maintain Tongue and Groove Pine Ceilings?
Like clockwork, I’d recommend reapplying finish to your tongue and groove pine ceilings every 3-5 years. However, I’ll assess wear patterns and environmental conditions since high-traffic areas might need attention sooner.
Is Sanding Required Between Multiple Coats of Finish on Pine Surfaces?
I recommend light sanding between coats for ideal adhesion, though it’s not always required. Check your finish’s instructions—some self-leveling products don’t need sanding, while others benefit from gentle scuffing for better bonding.
What Ventilation Requirements Are Needed When Finishing Pine Indoors?
I’ll guarantee you have adequate airflow when applying finishes indoors. Open windows and doors, use fans for cross-ventilation, and consider wearing a respirator with oil-based products to protect yourself.
Can Different Finish Types Be Mixed or Layered on the Same Project?
Like mixing oil and water, certain finishes don’t play well together. I don’t recommend mixing different finish types directly, but you can layer compatible finishes if you test compatibility first.