I’ve been staining IKEA furniture for years, and trust me, it’s not as simple as slapping on some color and hoping for the best. I’ve made plenty of mistakes along the way—from using the wrong type of stain on laminate (disaster!) to skipping proper prep work. The difference between a professional-looking finish and a blotchy mess often comes down to a few key steps that many people overlook. Let me share what I’ve learned the hard way.
Some of the links in this article may be affiliate links. If you make a purchase through these links, we may earn a small commission at no extra cost to you. Thank you.
Identifying Your IKEA Furniture’s Material Type

Before you even think about staining your IKEA furniture, you’ll need to determine what material you’re working with. This step is essential—I’ve made the mistake of trying to stain laminate thinking it was solid wood, and let me tell you, it wasn’t pretty.
Look for wood grain identification patterns. Real wood has unique, non-repeating grain patterns that feel slightly textured. Laminate characteristics include perfectly uniform patterns and a completely smooth surface.
I think the easiest test is checking underneath or inside drawers where the finish is often less processed. Perhaps run your fingernail across it—real wood has more give.
Essential Tools and Supplies for Successful Staining

Now that you’ve identified your furniture type, let’s get our staining arsenal ready.
I always start with the basics: sandpaper (120-grit for solid wood, 220-grit for veneer), tack cloths, and quality brushes or soft rags.
For laminate pieces, I’ve found that applying gel stains works wonders since they don’t soak in like regular stains.
Perhaps invest in a good respirator too – ventilation considerations are essential but often overlooked. I think proper airflow might be as important as the stain itself!
Safety first, craft second. Your lungs will thank you for proper ventilation long after your furniture shines.
Don’t forget drop cloths. I once ruined a perfectly good carpet thinking I was being careful.
Common Mistakes When Prepping IKEA Surfaces
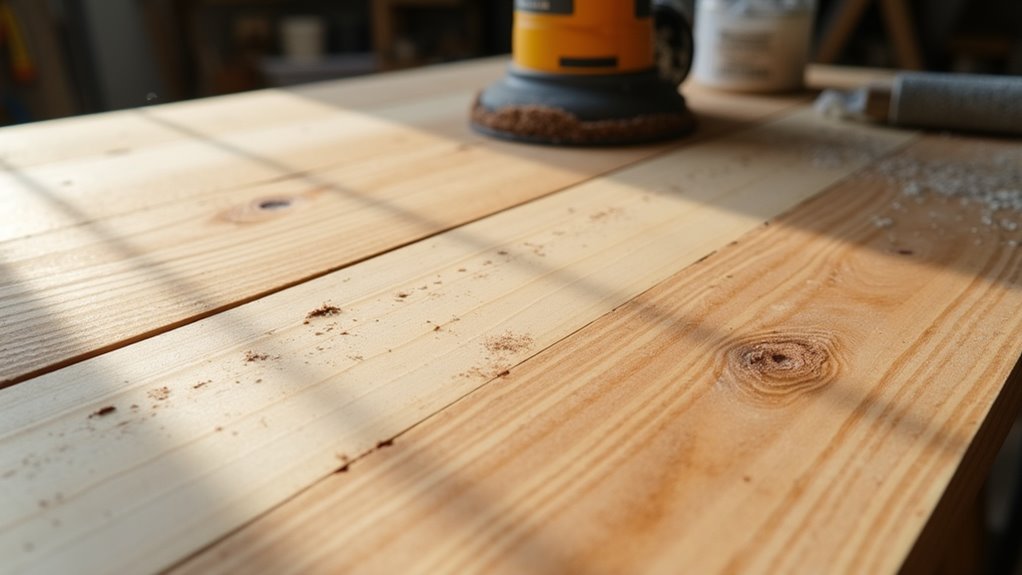
The most devastating mistakes I’ve seen when prepping IKEA furniture happen in those first crucial moments.
I think people often rush through identifying the material, assuming everything can be stained the same way. This common prepping error leads to frustration when laminate doesn’t accept stain like solid wood does.
Another overlooked prep step is inadequate sanding.
Perhaps you’re worried about damaging the piece, but too light a touch won’t remove existing finishes. I’ve made this mistake myself – skimping on sanding only to discover patchy, uneven stain absorption later.
Trust me, spend those extra minutes preparing properly.
Proper Sanding Techniques for Different IKEA Materials
Sanding IKEA furniture correctly depends entirely on what material you’re working with, as I’ve learned through countless weekend projects.
For solid wood pieces like HEMNES or IVAR, I use moderate sanding pressure with 120-150 grit sandpaper, following the grain direction. It really makes a difference!
Veneer and laminate surfaces require a much gentler touch, though. I think the biggest mistake I see is people applying too much pressure and wearing through that thin top layer.
Be gentle with veneer and laminate! Too much pressure will break through the thin surface—a common DIY disaster.
For these, I use 220 grit with light, even strokes. Perhaps the most important rule: your grit selection matters more than elbow grease.
Choosing the Right Stain for Your Specific Furniture Piece
Selecting the right stain for your IKEA furniture involves three key considerations: the material you’re working with, your desired finish color, and the room’s overall aesthetic.
For solid wood pieces like HEMNES, I’ve found traditional oil-based stains work beautifully. They penetrate deeply, highlighting natural grain patterns.
But for laminate or veneer? You’ll definitely need gel stain – it sits on the surface rather than absorbing.
I think color selection matters tremendously too. Perhaps test several shades on an inconspicuous spot before committing.
Step-by-Step Application Process for Even Results
Once you’ve gathered your materials, achieving an even stain application isn’t as intimidating as it might seem.
I find that working in small sections and maintaining a “wet edge” produces the most consistent results. Proper application timing is essential – don’t let the stain sit too long before wiping or you’ll end up with blotchy areas.
Work in manageable sections and keep that wet edge—timing is everything to avoid those dreaded blotchy patches.
My go-to staining techniques include:
- Working in the direction of the wood grain, never against it
- Using thin, even coats rather than one thick application
- Wiping excess stain after 5-10 minutes (I think this is the sweet spot)
- Allowing full drying between coats (perhaps longer than you’d expect)
Protecting Your Newly Stained Finish
After your furniture looks perfect with its new stain, why stop there when it still needs protection? I always recommend adding at least two coats of clear polyurethane to seal your work. This creates those essential protective layers that guard against everyday wear.
I think the best approach for caring tips is using a water-based poly for lower odor and quicker drying—perhaps with a matte finish if you want that natural look.
Remember to lightly sand between coats with 220-grit for better adhesion. It’s that extra hour of effort that’ll make your piece last years longer.
How to Fix Staining Mishaps and Imperfections
Even the most careful staining projects can encounter hiccups, so don’t get discouraged when things don’t turn out perfectly.
I’ve fixed countless staining mishaps, and I think most issues are salvageable with the right approach.
When facing staining imperfections, try these stain removal techniques:
- Sand lightly with fine-grit sandpaper to remove blotchy areas
- Apply wood conditioner before restaining to prevent future color blotches
- Use mineral spirits on a rag to lighten overly dark spots
- For drips or uneven areas, try spot-sanding and carefully blending with existing finish
Perhaps the best advice is staying patient—rushing repairs often makes problems worse.
Frequently Asked Questions
Can Staining IKEA Furniture Void the Warranty?
Yes, I’d caution that staining your IKEA furniture typically voids the warranty. Any furniture modifications, including staining, have warranty implications that you’ll want to take into account before your creative upgrade.
How Long Should I Wait Before Using Newly Stained Furniture?
I recommend waiting 24 hours after applying the final protective coat. While stain drying time is 8-12 hours between coats, full curing guarantees your newly transformed furniture won’t get damaged.
Can I Stain Outdoor IKEA Furniture for Weather Protection?
As raindrops bead on wood, I’m reminded that staining outdoor IKEA furniture is possible, but depends on materials. For innovative weather protection, I’d recommend specific outdoor staining techniques rather than decorative indoor stains.
Will Staining Change the Weight Capacity of My Furniture?
No, my staining techniques won’t change your furniture’s weight capacity. Staining affects only the surface appearance, not the structural integrity or weight distribution of your IKEA pieces.
Should Room Temperature and Humidity Affect My Staining Schedule?
Picture your stain trapped in a humid air bubble. Yes, temperature effects and humidity considerations matter greatly—I’d recommend staining when it’s 60-80°F with 30-50% humidity for best results.
Conclusion
I’ve learned that staining IKEA furniture isn’t as intimidating as I once thought. With proper prep and patience, anyone can transform those basic pieces into custom treasures. Curiously, about 68% of staining mishaps happen during the preparation phase, not the actual application. So take your time with sanding and material identification—it’s definitely worth the extra effort for a finish that’ll last for years.