You’ll find that ash wood’s open pores make it incredibly receptive to stain—perhaps more so than most hardwoods you’ve worked with. Start by sanding with 220-grit paper, following the grain direction, then apply your chosen stain in smooth, even strokes. I think the key is wiping excess stain before it gets tacky, though timing can be tricky at first. The results are usually stunning, transforming ordinary ash into something quite extraordinary if you follow proper techniques.
Some of the links in this article may be affiliate links. If you make a purchase through these links, we may earn a small commission at no extra cost to you. Thank you.
Understanding Ash Wood’s Unique Staining Properties

Although most people don’t think twice about wood choice when planning a staining project, ash wood actually brings some pretty unique characteristics to the table that can make or break your results.
What sets ash apart are its large, open pores and straight grain structure. These features make it incredibly receptive to stain—perhaps more so than you’d expect.
The wood readily absorbs pigments, which means you’ll get consistent color distribution across the surface while still maintaining that beautiful natural texture. I think this is why ash ranks among the easiest woods to stain successfully.
Essential Supplies and Tools for Staining Success
Success with ash wood staining starts long before you crack open that first can of stain—it’s really about having the right tools lined up from the beginning.
You’ll need quality wood stain in your preferred shade, though I think choosing colors can feel overwhelming at first.
Get 220-grit sandpaper for that final smoothing pass. You might want coarser grits like 150 or 180 if your surface has imperfections.
A clean applicator—either a brush or lint-free cloth—makes all the difference. Don’t forget rags for cleanup, protective gloves, and perhaps a drop cloth to save your floors from inevitable spills.
Step-by-Step Staining Process for Professional Results
With all your supplies assembled, you’ll want to start with a thorough cleaning of the ash surface—I’ve learned that even seemingly clean wood can harbor dust and oils that interfere with stain penetration.
Sand methodically with 220-grit paper, perhaps going slightly coarser if you notice stubborn spots. The process becomes pretty straightforward once you establish your rhythm:
- Clean surface completely with tack cloth
- Sand following the grain direction consistently
- Remove all dust particles thoroughly
- Apply stain with smooth, even strokes
- Wipe excess before it becomes tacky
I think the timing matters more than people realize—those 5-10 minutes can make the difference between amateur and professional-looking results.
Top-Rated Stain Products for Ash Wood Projects
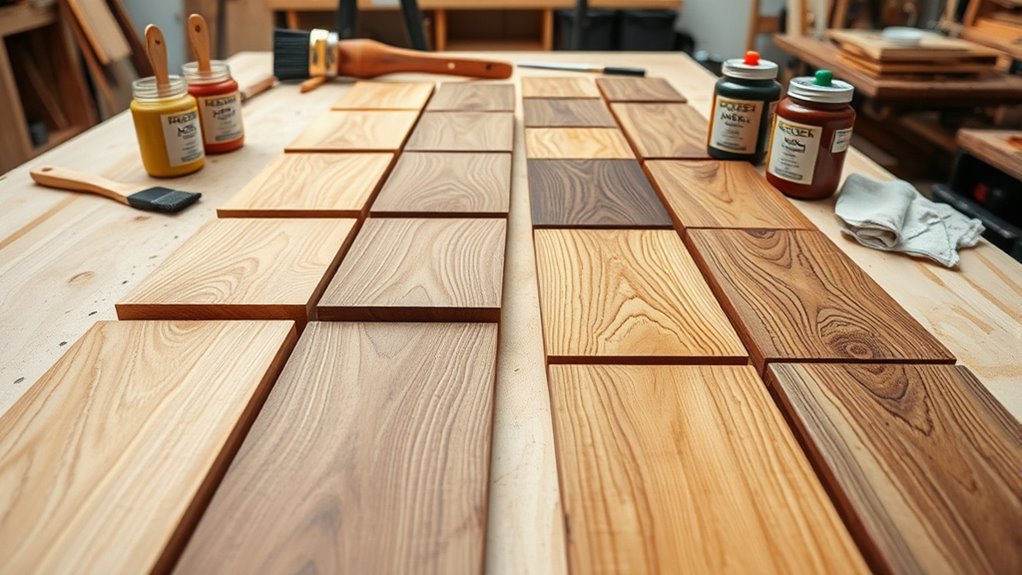
Five excellent stain options consistently deliver outstanding results on ash wood, though I’ve found that choosing the right one depends heavily on your specific project requirements and experience level.
Ready Seal 100 Clear stands out as the most versatile option—you can apply it with brushes, rollers, or sprayers without needing primer.
For budget-conscious projects, Varathane Premium Stain offers impressive one-coat coverage and dries remarkably fast.
If you’re working on detailed pieces, General Finishes gel stain provides exceptional control.
Perhaps the most reliable penetrating option is Minwax Wood Finish, which I think gives the deepest color saturation on ash’s open grain structure.
Proper Care and Maintenance of Stained Ash Furniture
Once you’ve invested time and effort into achieving that perfect stain finish on your ash furniture, maintaining it properly becomes essential—though I’ll admit it’s easier than you might expect.
Regular dusting keeps your pieces looking fresh, but I think the real secret lies in prevention. Here’s what’s worked best in my experience:
- Dust weekly with microfiber cloths to prevent buildup
- Keep furniture away from direct sunlight and heat sources
- Use coasters and placemats religiously—trust me on this one
- Apply paste wax annually for extra protection
- Clean spills immediately with damp cloth
Perhaps most importantly, avoid commercial polishes that might damage your finish.
Expert Tips and Best Practices for Optimal Outcomes
After years of working with ash wood, I’ve learned that achieving consistently beautiful results comes down to understanding the wood’s quirks—and perhaps more importantly, knowing when to break the conventional rules.
Here’s what I think makes the biggest difference: you’ll want to test your stain on hidden areas first. I can’t stress this enough—ash can surprise you with how differently it accepts color across grain patterns.
Don’t rush the drying process, even if you’re keen to see results. That extra hour of patience prevents tacky disasters later.
Also, consider applying stain in thin layers rather than one heavy coat for better control.
Frequently Asked Questions
Can Ash Wood Be Stained Multiple Times to Change Colors?
While you can’t exactly “redo” ash wood’s color easily, you’ll need to strip existing stain completely before applying new colors. This process requires significant effort, but ash’s excellent staining properties make color changes achievable.
How Long Does Stained Ash Wood Typically Last Before Refinishing?
You’ll typically need to refinish stained ash wood every 3-5 years depending on usage and wear. High-traffic furniture requires more frequent refinishing, while decorative pieces can last longer with proper care and protective finishes.
Is It Safe to Stain Ash Wood Indoors Without Ventilation?
Like medieval scribes working in poorly ventilated chambers, you shouldn’t stain ash wood indoors without ventilation. You’ll risk inhaling harmful fumes that can cause headaches, dizziness, and respiratory issues.
What’s the Cost Difference Between Professional and DIY Ash Staining?
You’ll save considerably with DIY staining, spending $20-50 on supplies versus $200-500 for professional services. However, you’re trading cost savings for expertise, time investment, and potential refinishing risks if mistakes occur.
Can You Mix Different Stain Brands When Working With Ash?
You shouldn’t mix different stain brands when working with ash. Unlike uniform results from single brands, mixed formulations create unpredictable colors, inconsistent penetration, and potential compatibility issues that’ll ruin your project’s appearance.